Washer Water Valve Diagnostics

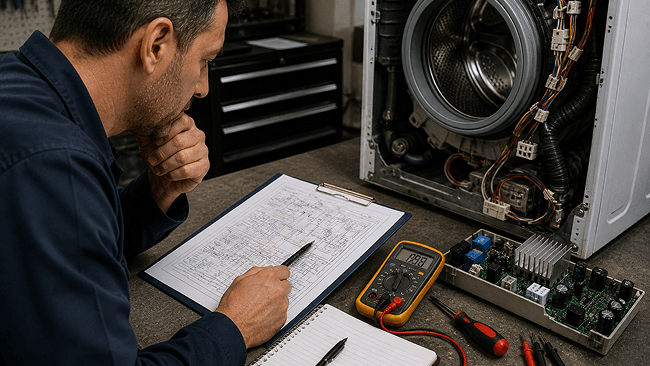
And now we're gonna go ahead and take a look at the water valves. Okay? So again, I like to zoom in in case you're watching this on a, maybe on a cell phone or something.
So as you can see, the water valves are all connected to connector J 514 and connector J 514 is a six pin connector. We can clearly see that because it's a box with. Six numbers right there, one through six. And, uh, the common wire here, alright. If you look at the, the diagram, the, the line that is, or the wire that is common to every single one of those four water valves is actually your line, which is a c.
Dash 20. Now we know that C is is brown. So it's a 20 gauge brown wire that actually splits into four ways, right? It splits to provide line voltage to the hot, cold, bleach and pre-washed water valves. Now, on the other side, there has to be a complementing circuit. So we have neutral, and in the case of, uh, let's start with the bleach and pre-wash, right?
The ones at the bottom. So the bleach and pre-wash valves, say N 20. And why. So if we go ahead and take a look at our table over here. N stands for blue, and I believe the reason for that is because it's navy blue and yellow. It's pretty easy to, I guess, to guess, right that it is yellow. So you essentially have a blue and the yellow wire going from the uh, connector J 514 to the other side of the, uh, of the valves, the bleach, and the pre-wash.
With that said, if we look at pins number two and three. Okay. PIN number two is a W and pin number three is an R. It's pretty easy to understand that that's gonna be a white and a red, and. In your world again, what you are actually gonna see is gonna be this right here. So let's get a nice closeup view of that.
And you can clearly see there's my water valve and uh, or my water valve connector. And it's pretty much in order.