Replacing a Gas Water Heater Valve

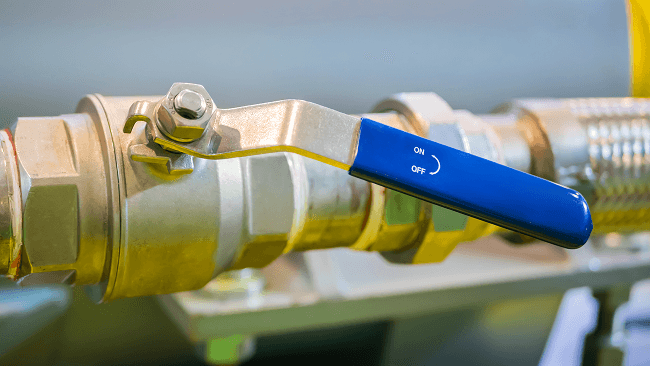
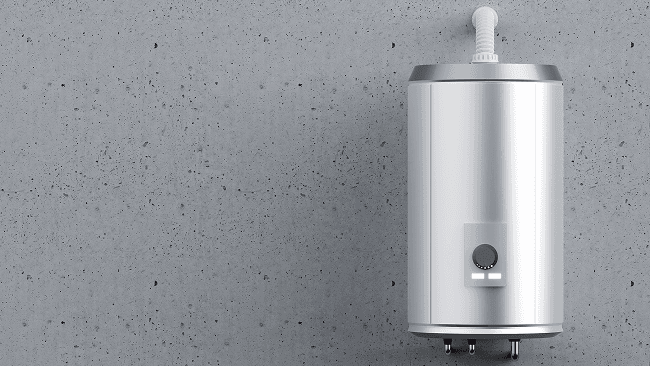
Okay. Today we're gonna be replacing this gas valve for this 50-gallon water heater. All right. First thing you're gonna do is turn your water supply to the tank off, and usually it's a ball valve which looks like this with a red ha- uh, any color handle, but in this case it's red, handle like this, and you just turn it till, till the handle is perpendicular to the, the pipe, whichever way the pipe's going, perpendicular.
Some shutoffs might have a ball, um, a gate valve, which looks like a wagon wheel, and you just turn that clockwise until you can't anymore, and then verify that you have no water by turning on the faucet. Then you're gonna wanna turn your tank off. And in this case you just turn the knob till it goes to off, like that.
If you have a power-vented system, just unplug it from the electrical outlet that it's plugged into. Then you connect your hose to the tank drain port on the tank, and then just open the tank and make sure the hose is in a place where it's not gonna get water everywhere, and just drain your tank
Then while your tank is draining, you're gonna wanna go ahead and turn your gas off like this. And then you're gonna wanna h- go ahead and disconnect your thermopile power, which this powers this gas valve here. The heat from the thermopile will power the low voltage of the gas. And then you're going to disconnect your, uh, spark igniter here.
That just should pull apart, and then you're gonna go ahead and disconnect the gas to your burner here, and you could just use a crescent wrench and just turn it counterclockwise and loosen it, and it unthreads. And then also, your, uh, pilot tube here, you're gonna disconnect that in the same way. Then once that's all disconnected, you're gonna need to disconnect your gas.
And my case, I think I'm gonna disconnect it here from this union, and maybe unscrew this pipe here so I can get access and just turn it out via, via here. Now, if you did it right, you can use the pipe that's sticking out of the gas valve as leverage. It should be a lot harder than that. I've already loosened it.
And you could just go ahead and loosen it and take it right out. Okay. Now, as you unscrew it, just be careful. Watch for water. You may get a little w- water leak out of here. If you drained it right, even if you use a pump, you should be okay. But occasionally, you might get a little bit of water, a little bit of pressure.
And you take the old one out just like that. Unscrew it counterclockwise, and then you put the new one in. The new one should have Teflon tape already applied, and it just basically screws in there. Make sure you do not cross-thread it as you start to screw it in.
And you screw it down tight. Okay, you're gonna tighten your gas valve to the point where it's tight and it, but it's also straight to the tank like so. And then you're gonna wanna go ahead and turn off your water If you haven't done so already, that you used to drain the tank, and then you're gonna go ahead and turn your water to the tank back on, and you're gonna check everything for leaks.
If you see leaks, you're gonna have to take it back out, maybe apply some, uh, thread sealant to where the Teflon was, where it threaded into the tank. After turning the water back on and checking for leaks, you're gonna wanna go ahead and connect your gas line back up. So you're gonna wanna screw this in here.
You can use the old existing gas line as leverage when installing the new tank. But once you put the new line in, or reconnect the old line rather, you wanna wanna go ahead and use, uh, some thread sealant, some pipe thread sealant. Here I'm using... This is for water. Usually, the yellow is for gas, but you're gonna wanna go ahead and apply a, a hefty dose of thread sealant on your gas pipe here, and then go ahead and thread it back into your gas valve.
Now, after all your gas pipe is connected, um, with thread sealant on each end of the pipe, and each fitting connected one by one, tightening one by one as you go, you're gonna go ahead and connect your union connection for your gas, and that just sits on there, and you get it started and thread it on. Now the same way you took them off, you're gonna connect your pilot, your gas line for your burner, and your, uh, thermopile, um, connection here, and your spark.
Okay, with your gas valve still in the off position, you're gonna go ahead and turn your gas back on, and then we're gonna check for leaks. You can just get yourself some soapy water in a spray bottle, and just spray the connections that you removed and reinstalled to check for any leaks. Or you can use an electronic gas detector that will beep at you if it senses any gas.
And in this situation, everything looks good. We don't see it blowing any bubbles from any leaks, and that's it. Your last steps are to follow the instructions on your gas valve to relight the pilot and the burner. And an indication, usually you'll have a status light that blinks once every three seconds as normal operation.
And then if you have any sort of heat loop, you're gonna... Up here, you're gonna go ahead and connect a hose here, and then bleed any air that may be caught in the line from draining the tank. And that is how you change your gas valve. Okay, today we're gonna be replacing this gas valve for this 50-gallon water heater